
Air Fryer Chicken Katsu delivers the crispiest, juiciest Japanese comfort food right to your kitchen—without deep frying! If you crave that impossibly crunchy, golden coating with a tender chicken interior, this recipe is your fast track to authentic restaurant-style results at home. What makes this Air Fryer Chicken Katsu truly special? It’s foolproof, family-friendly, and comes together in under 35 minutes. Designed for busy weeknights or meal-prep lunches, this recipe gives you exact ingredient weights, clear step-by-step air-fryer instructions, and the pro tips you need for a consistently crunchy finish—every single time. Whether you’re a first-timer or a katsu-bowl meal-prep pro, you’ll love just how easy and satisfying this dish is!
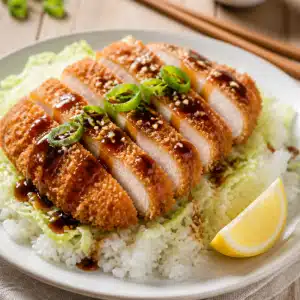
Air Fryer Chicken Katsu: Easy 30-Minute Recipe For Busy Weeknights
Ingredients
Chicken Katsu Cutlets
- 4 pieces (6–7 oz / 170–200 g each), or 2 large breasts halved Boneless, skinless chicken breasts Pound to 1/2" (12 mm) thick.
- 1 teaspoon Kosher salt divided
- ½ teaspoon Black pepper divided
Breading Station
- ½ cup (65 g) All-purpose flour
- 2 large Eggs beaten with 1 tablespoon water
- 1 ½ to 2 cups (150–200 g) Japanese panko breadcrumbs pressed out to break up clumps
- 2–3 tablespoons total Neutral oil spray for misting; can use canola, avocado, or grapeseed
Homemade Katsu Sauce (for serving, makes ~3/4 cup)
- ¼ cup (60 g) Ketchup
- 3 tablespoons (45 ml) Worcestershire sauce
- 1 tablespoon (15 ml) Soy sauce
- 1 tablespoon (12–15 g) Brown sugar (or mirin)
- 1 teaspoon (5 g) Dijon mustard
- 1 teaspoon Sesame oil optional
- pinch Garlic powder optional
For Katsu Bowls (optional)
- 4 cups (280 g) Shredded Napa cabbage
- 4 cups (800 g) Cooked Japanese short-grain rice
- Lemon wedges
- Scallion optional garnish
- Sesame seed optional garnish
- Pickled ginger optional garnish
Instructions
Step-by-Step Cooking Instructions
- Prep the Chicken: Place each chicken breast between two sheets of parchment or plastic wrap. Pound to an even 1/2" (12 mm) thickness using a meat mallet or rolling pin for even cooking and juicy results. Pat very dry with paper towels. Season both sides with half the salt and pepper.
- Set up Your Breading Stations: Arrange three shallow bowls: one with all-purpose flour, one with beaten eggs and water, and one with panko breadcrumbs (pressed out to break up clumps). Season flour and panko with remaining salt and pepper.
- Bread Each Cutlet: Dredge a chicken cutlet in flour, coating both sides and shaking off excess. Dip into the beaten egg, letting any extra drip off. Firmly press into the panko breadcrumbs, generously coating both sides—double-press for extra crunch.
- Repeat for remaining chicken. Let breaded cutlets rest on a wire rack for 10–15 minutes (or refrigerate up to 30 minutes) for the coating to adhere and set for frying.
- Preheat the Air Fryer to 390°F (200°C) for 3–5 minutes. This gives an immediate sizzle and helps achieve restaurant-style browning.
- Arrange & Spray: Mist both sides of each cutlet with Neutral oil spray. Place cutlets (single layer) in the air fryer basket or on an elevated wire rack insert. Do not overlap or overcrowd; cook in batches if needed for maximum crisp.
- Cook: For thin (1/2”/12 mm) cutlets: Air fry at 390°F for 8–10 minutes total, flipping at 4–5 min. For thicker (3/4”): Air fry 11–14 minutes, flipping at halfway. Chicken is done when the internal temperature reaches 165°F (74°C) and coating is deep golden brown. (Use instant-read thermometer for accuracy.)
- If coating needs more color, finish with an extra 1–2 minutes at 400°F (205°C) or a second quick oil spray.
- Rest & Serve: Rest cooked cutlets for 3–5 minutes before slicing. Serve hot, with plenty of homemade katsu sauce and accompaniments as desired.
Notes
🍽️ Recipe At A Glance
- Prep Time: 18 minutes
- Cook Time: 8–14 minutes
- Difficulty: Easy
- Servings: 4 servings
- Why This Recipe Works
- Ingredients You’ll Need
- Step-by-Step Cooking Instructions
- Recipe Variations & Dietary Modifications
- Serving Suggestions & Pairings
- Storage & Meal Prep Tips
- Nutritional Information
- Conclusion
- FAQ
Why This Recipe Works
This Air Fryer Chicken Katsu recipe is engineered for superlative crunch without excess oil or mess. The secret? True Japanese technique meets smart air fryer science.
We start by pounding the chicken evenly so it cooks precisely and stays juicy. Chilling the breaded cutlets before air frying sets the crumb—helping the crispy panko shell cling beautifully during cooking. By using medium-coarse Japanese panko breadcrumbs and a quick oil spray, you get an airy, golden finish that rivals any restaurant. High convection heat (390°F/200°C) and flipping at halfway lock in moisture while crisping every surface.
Letting cutlets rest after breading and before slicing is key—this locks in juices, and the coating resists sogginess for the ultimate crispy Japanese chicken experience. Preheating the fryer ensures immediate crust formation, so every bite is perfectly crunchy and tender.
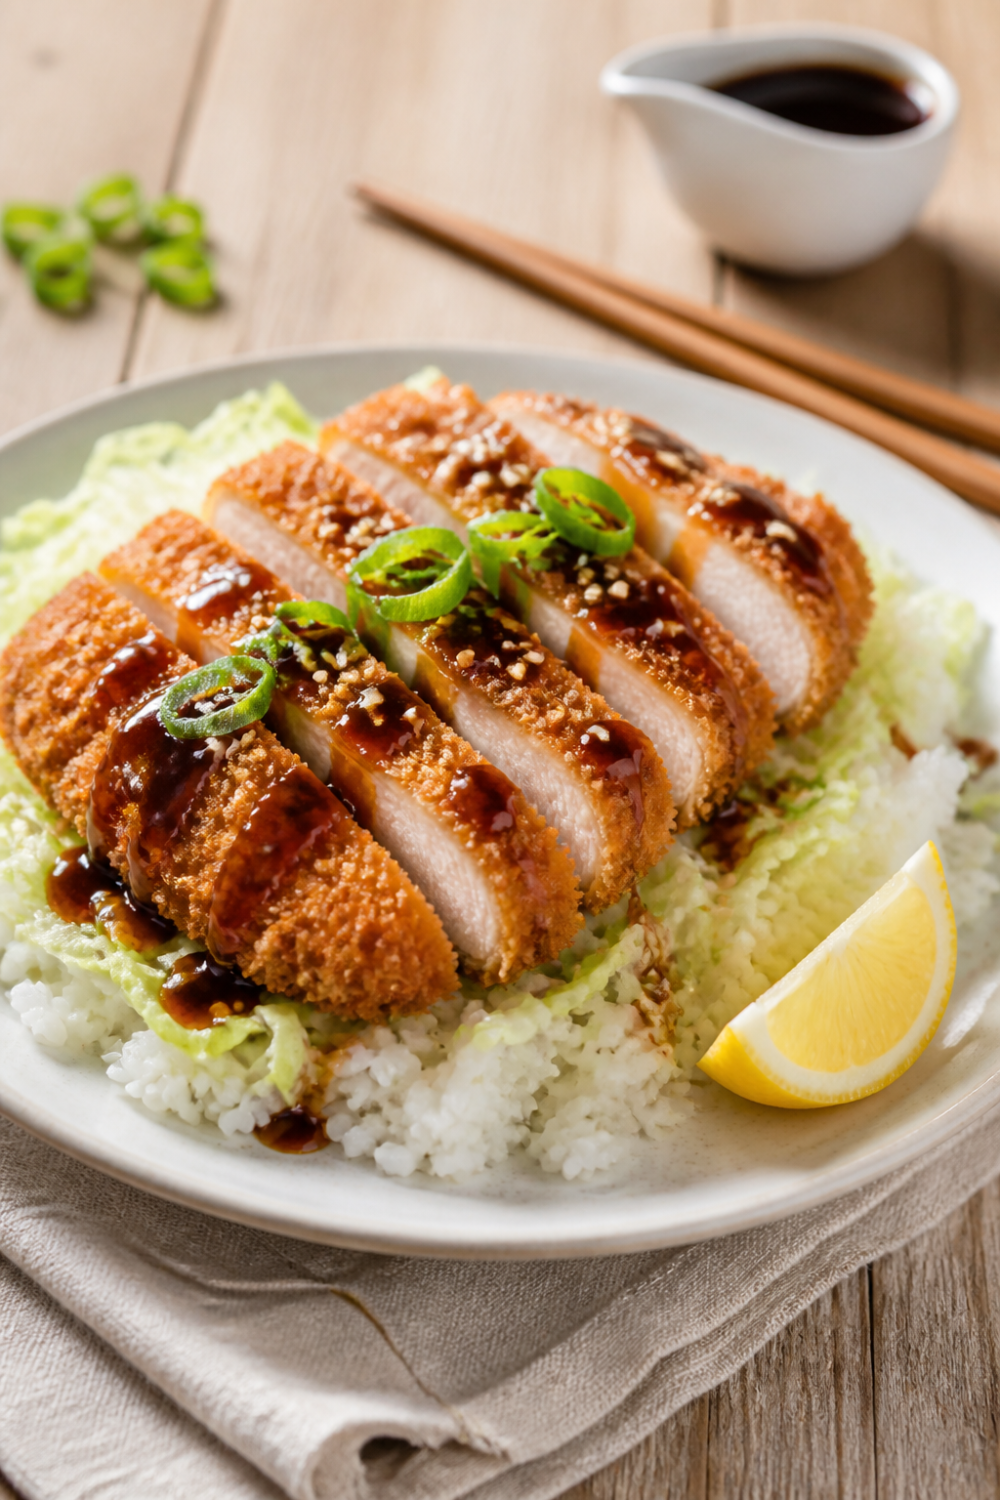
Ingredients You’ll Need
- Chicken Katsu Cutlets:
- Boneless, skinless chicken breasts: 4 pieces (6–7 oz / 170–200 g each), or 2 large breasts halved. Pound to 1/2" (12 mm) thick.
- Kosher salt: 1 teaspoon, divided
- Black pepper: 1/2 teaspoon, divided
- Breading Station:
- All-purpose flour: 1/2 cup (65 g)
- Eggs: 2 large, beaten with 1 tablespoon water
- Japanese panko breadcrumbs: 1 1/2 to 2 cups (150–200 g)
- Neutral oil spray (canola, avocado, grapeseed): 2–3 tablespoons total (for misting)
- Homemade Katsu Sauce (for serving, makes ~3/4 cup):
- Ketchup: 1/4 cup (60 g)
- Worcestershire sauce: 3 tablespoons (45 ml)
- Soy sauce: 1 tablespoon (15 ml)
- Brown sugar (or mirin): 1 tablespoon (12–15 g)
- Dijon mustard: 1 teaspoon (5 g)
- Optional: 1 teaspoon sesame oil, pinch garlic powder
- For Katsu Bowls (optional):
- Shredded Napa cabbage: 4 cups (280 g)
- Cooked Japanese short-grain rice: 4 cups (800 g)
- Lemon wedges
- Scallion, sesame seed, and pickled ginger (optional garnish)
Step-by-Step Cooking Instructions
- Prep the Chicken: Place each chicken breast between two sheets of parchment or plastic wrap. Pound to an even 1/2" (12 mm) thickness using a meat mallet or rolling pin for even cooking and juicy results. Pat very dry with paper towels. Season both sides with half the salt and pepper.
- Set up Your Breading Stations: Arrange three shallow bowls: one with all-purpose flour, one with beaten eggs and water, and one with panko breadcrumbs (pressed out to break up clumps). Season flour and panko with remaining salt and pepper.
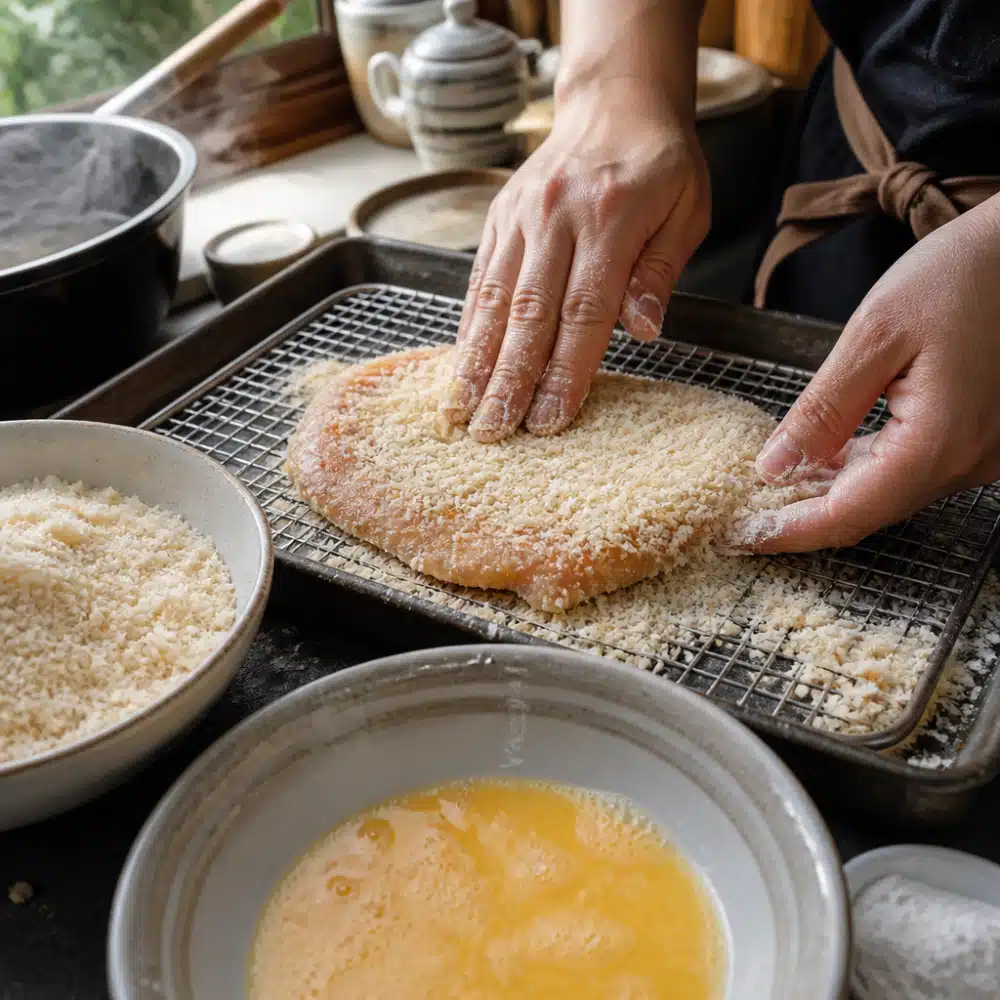
- Bread Each Cutlet: Dredge a chicken cutlet in flour, coating both sides and shaking off excess. Dip into the beaten egg, letting any extra drip off. Firmly press into the panko breadcrumbs, generously coating both sides—double-press for extra crunch.
- Repeat for remaining chicken. Let breaded cutlets rest on a wire rack for 10–15 minutes (or refrigerate up to 30 minutes) for the coating to adhere and set for frying.
- Preheat the Air Fryer to 390°F (200°C) for 3–5 minutes. This gives an immediate sizzle and helps achieve restaurant-style browning.
- Arrange & Spray: Mist both sides of each cutlet with Neutral oil spray. Place cutlets (single layer) in the air fryer basket or on an elevated wire rack insert. Do not overlap or overcrowd; cook in batches if needed for maximum crisp.
- Cook:
- For thin (1/2”/12 mm) cutlets: Air fry at 390°F for 8–10 minutes total, flipping at 4–5 min.
- For thicker (3/4”): Air fry 11–14 minutes, flipping at halfway.
- Chicken is done when the internal temperature reaches 165°F (74°C) and coating is deep golden brown. (Use instant-read thermometer for accuracy.)
- If coating needs more color, finish with an extra 1–2 minutes at 400°F (205°C) or a second quick oil spray.
- Rest & Serve: Rest cooked cutlets for 3–5 minutes before slicing. Serve hot, with plenty of homemade katsu sauce and accompaniments as desired.
Recipe Variations & Dietary Modifications
- Gluten-Free: Swap flour for an equal weight of rice flour or GF all-purpose blend (1/2 cup / 65 g). Use certified gluten-free panko (150–200 g). The crust will be nearly as crispy if you use high-quality GF panko.
- Keto/Low-Carb: Use 1/4 cup almond flour (or 2 tablespoons pork rind powder and 2 tablespoons almond flour) for the dredge, and crushed pork rinds (plus a tablespoon of grated Parmesan if you like) for the breading. Watch for quicker browning—reduce the cook time by 1–2 minutes if needed.
- Dairy-Free: This Air Fryer Chicken Katsu is naturally dairy-free! If any variant calls for milk in the egg wash, swap for plant milk or water; there is no taste or texture loss.
- Vegetarian (Tofu Katsu): For a plant-powered version, slice firm tofu slabs (pressed well and patted dry), dredge and bread as above. Cook at 375–390°F (190–200°C) for 10–12 minutes per side until crunchy. Tofu soaks up flavors and creates a golden crust.
- Spicy Variation: Add a pinch of cayenne to the flour, or whisk sriracha into your katsu sauce for fiery heat.
Adjust air fryer cook times slightly for breading variations (e.g., pork rinds brown fast; tofu needs longer per side). Always check the katsu for deep golden color and safe doneness!
For more air fryer meal ideas, check out our Air Fryer Lemon Chicken Bites or the classic Air Fryer Smashed Potatoes as a tasty side dish.
Serving Suggestions & Pairings
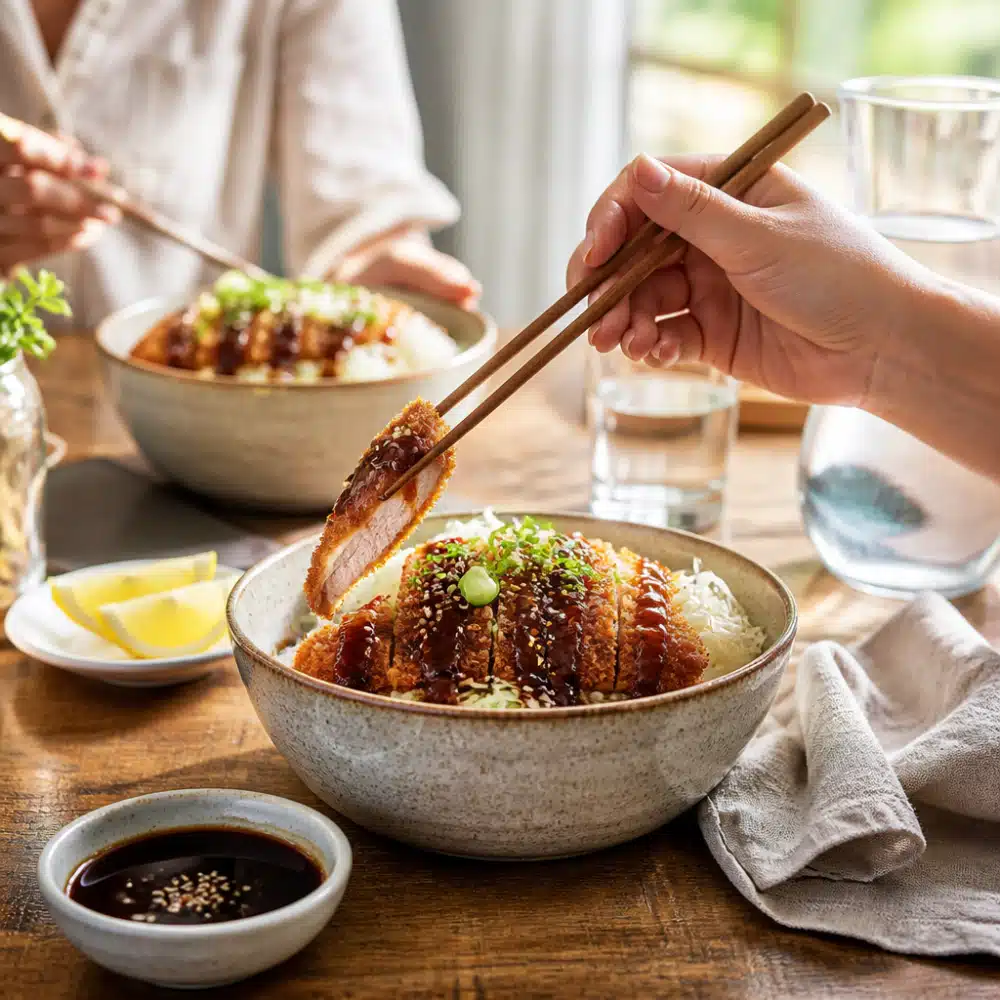
Crispy Air Fryer Chicken Katsu is amazing on its own, but transforms beautifully into a classic katsu bowl (“katsudon”). For a true Japanese-inspired meal, serve hot katsu sliced over a fluffy bed of Japanese rice, a pile of crisp shredded Napa cabbage, and a generous drizzle of homemade katsu sauce. Garnish with scallions, toasted sesame seeds, and a squeeze of lemon for freshness!
Pair this dish with quick pickles, miso soup, or a bright cucumber salad for a complete Japanese comfort food experience. A mug of hot green tea or a light Japanese beer makes it extra special. For creative lunchboxes, pack katsu and extras separately, recombining just before eating to preserve crunch.
Looking for more cozy bowls? You’ll also enjoy our Texas Roadhouse Smothered Chicken and Totino’s Pizza in Air Fryer tutorials.
Storage & Meal Prep Tips
This Air Fryer Chicken Katsu is perfect for busy cooks and meal-preppers! To make ahead, bread your cutlets completely and freeze on a lined tray in a single layer. Once firm (about 30–60 minutes), transfer to airtight bags and store for up to 1 month. You can cook straight from frozen: preheat the air fryer to 400°F (205°C), oil-mist the frozen katsu, and cook 12–16 minutes flipping at halfway (add a few extra minutes if thick).
For leftover cooked katsu, refrigerate in airtight containers for up to 3 days or freeze up to a month. To reheat and keep the crust crispy, use your air fryer at 350–375°F for 3–6 minutes (from fridge) or 6–10 minutes (from frozen), flipping at halfway. Never microwave only, as this softens the coating.
When meal-prepping katsu bowls, store rice and cabbage in the main compartment and sliced katsu separately to keep crispy. Add sauce just before serving to avoid soggy breading.
Read more about air fryer reheat techniques from this expert guide.
Nutritional Information
Nutrition Facts (per serving):
Calories: ~650 kcal | Protein: 45 g | Carbs: 62 g | Fat: 21 g | Fiber: 2 g
Calculated for one full chicken katsu bowl: one crispy cutlet (from 6–7 oz raw), 1 cup rice, 1 cup cabbage, and 2 tablespoons sauce. Swapping in cauliflower rice or skipping the rice can lower calories to 350–450 and carbs to 10–25 g. Sodium varies based on the sauces; use low-sodium soy to reduce saltiness.
Learn more nutrition facts with this USDA Food Database.
Conclusion
If you love the satisfying crunch and big flavor of restaurant katsu, you’ll adore making Air Fryer Chicken Katsu at home—no messy oil, and with 100% success guaranteed! With these step-by-step instructions, every bite is golden, juicy, and perfectly seasoned.
Make Air Fryer Chicken Katsu for dinner tonight or prep ahead for lunch all week. Don’t forget to snap a photo and tag us on social, or leave a comment below! Your kitchen is about to become your favorite Japanese restaurant.
FAQ
Why is my Air Fryer Chicken Katsu not crispy?
The main reasons are not preheating the air fryer, overcrowding the basket, or skipping the resting/chilling step after breading. Always cook in a single layer, rest breaded cutlets for at least 10–15 minutes, and use a light oil mist for best crunch.
Can I cook Air Fryer Chicken Katsu from frozen?
Yes! Bread your cutlets and freeze, then air fry straight from frozen at 400°F (205°C) for 12–16 minutes flipping halfway, until the chicken reads 165°F inside. Perfect for meal-prep or katsu-bowl lunches.
How do I reheat Air Fryer Chicken Katsu so it stays crispy?
Use your air fryer at 350–375°F for 3–6 minutes (from fridge) or 6–10 minutes (from frozen). Flip halfway and finish with an extra 1–2 minutes at 400°F if you want it extra crunchy. Never rely solely on the microwave as this will make the coating soggy.
Can I use regular breadcrumbs instead of panko for Air Fryer Chicken Katsu?
Panko gives the signature crunch and airy texture. Regular breadcrumbs will work, but the coating will be denser and less crispy. Stick with Japanese panko whenever possible.
Is Air Fryer Chicken Katsu gluten-free or dairy-free?
The original recipe is dairy-free. For gluten-free, simply substitute rice flour for all-purpose and use gluten-free panko (see substitutions above) for an equally tasty result.
What can I serve with Air Fryer Chicken Katsu?
It’s perfect with steamed rice, shredded cabbage, homemade katsu sauce, and garnishes like scallion or pickled ginger. Try adding cucumber salad or miso soup for a full Japanese-style meal.