Welcome to airfryerjoy.com! Today, we’re diving into the comforting world of Japanese katsu bowls—a dish that brings together crispy fried meat, fluffy rice, and fresh vegetables. This guide will take you through the process of recreating this beloved dish at home, with detailed instructions and tips that even novice cooks can follow. Whether you’re cooking for yourself or planning a dinner to impress friends and family, this katsu recipe will not only satisfy your taste buds but also fill your kitchen with warmth and joy.
The Allure of Japanese Katsu Bowls
Every time I think about Japanese katsu bowls, I’m transported back to my childhood. I remember a rainy afternoon when my family gathered around the kitchen, the air thick with the aroma of frying chicken and the comforting sound of sizzling in the oil. My mom would carefully explain the steps of her favorite katsu recipe, as I watched her movements with fascination. The magic of turning simple ingredients into something extraordinary was never lost on me. Japanese katsu represents not just a meal, but an experience filled with love, tradition, and joy.
As I grew older, I discovered my own passion for cooking. The first time I made katsu, I was nervous but excited, eager to replicate those fond memories. With a little trial and error, I mastered the art of creating that perfect crispy coating and the fragrant rice that an authentic katsu bowl demands. What I’ve learned is that enjoying katsu at home is more than just about the flavors; it’s about reliving the beautiful moments spent in the kitchen with loved ones—something I want to share with you through this recipe.
Bringing Japanese katsu bowls into your home allows you to explore new flavors while also relishing the comfort of a classic dish. Whether you choose chicken or pork, the steps remain relatively the same, and you’ll delight in the satisfying crunch of panko and the tender meat within. So let’s embark on this culinary adventure together and transform your kitchen into a space where creativity thrives—starting with this delightful katsu.
Ingredients You’ll Need for Delicious Katsu
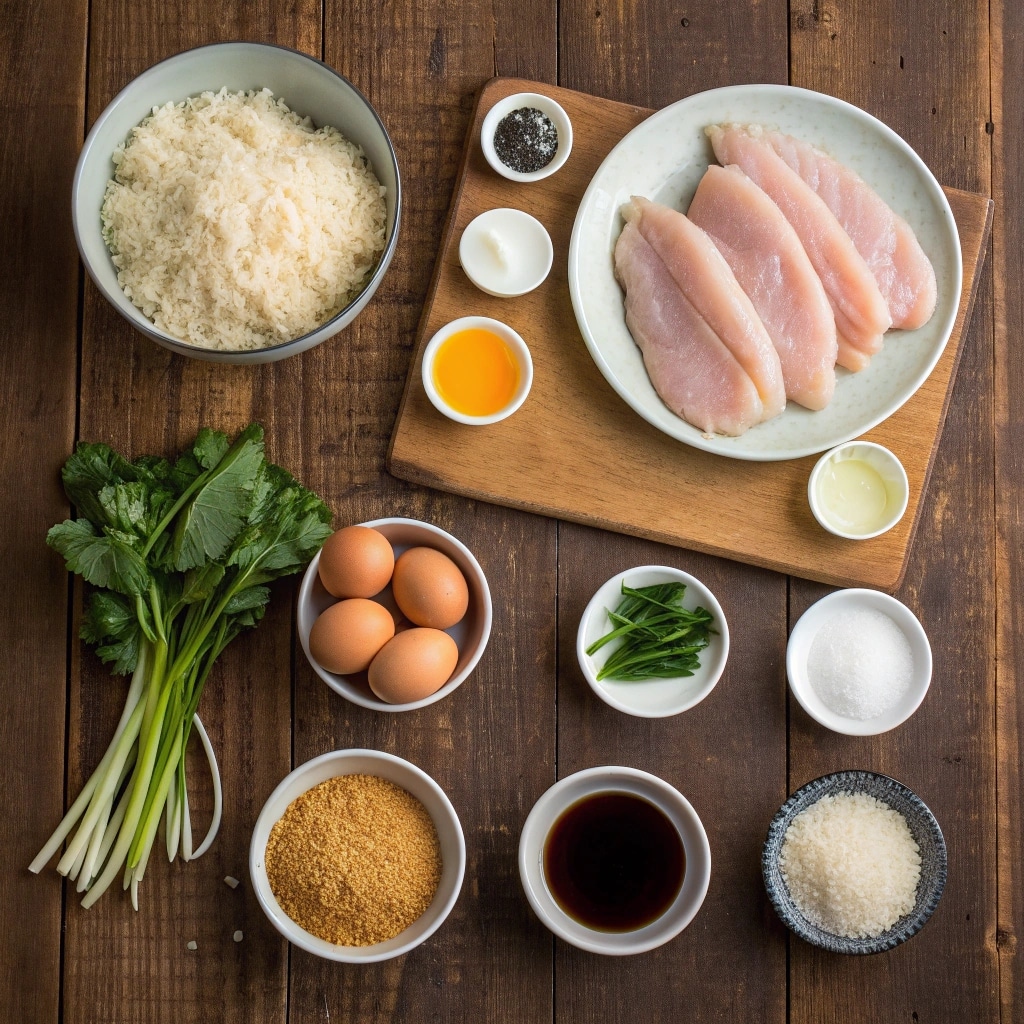
To make your own authentic Japanese katsu bowls, you will need a few key ingredients:
- Chicken or Pork: You can use 2 boneless chicken breasts or pork loins, whichever you prefer.
- Salt and Pepper: Essential for seasoning your meat to enhance the flavors.
- All-Purpose Flour: 1 cup will be used for the first layer of your breading.
- Eggs: 2 large eggs, beaten, will help the panko breadcrumbs stick to the meat.
- Panko Breadcrumbs: 1 cup of these Japanese breadcrumbs provides that signature crunch.
- Vegetable Oil: For frying, ensure you have enough to submerge your katsu.
- Rice: 2 cups of Japanese short-grain rice offer the perfect sticky base for your katsu bowl.
- Water: 2 ½ cups.
- Rice Vinegar, Sugar, Salt: For seasoning your rice after it’s cooked.
- Tonkatsu Sauce: About ¼ cup; this is crucial for that distinct savory flavor, but you can opt for store-bought if pressed for time.
- Soy Sauce and Worcestershire Sauce: For added depth in your sauce mix.
- Vegetables: Shredded cabbage and sliced green onions provide freshness.
- Garnishes: Toasted sesame seeds and pickled ginger (if desired).
Gathering these ingredients is a crucial first step in your cooking journey. With everything on hand, the process of making katsu becomes both efficient and enjoyable. Each component plays an essential role in creating that ultimate katsu experience that you’ll be able to savor with every bite, bringing together comfort and innovation in your own kitchen.

Cooking Steps for Perfect Katsu
Now that you have all your ingredients ready, let’s delve into the cooking process:
Start by rinsing the rice under cold water until the water runs clear; this helps remove excess starch. Transfer the rinsed rice to a saucepan, add 2 ½ cups of water, and soak for about 30 minutes. Cover and bring the mixture to a boil, then reduce the heat and let it simmer for 15 minutes without lifting the lid. After the time is up, turn off the heat but let the rice sit covered for another 10 minutes. In a separate bowl, mix 1 tablespoon of rice vinegar, 1 tablespoon of sugar, and ½ teaspoon of salt until dissolved, then gently fold this mixture into the rice.
Prepare your chicken by pounding the breasts to a uniform thickness of about ½ inch and seasoning them with salt and pepper. It’s important for the meat to cook evenly. Set up your breading station with all-purpose flour, the beaten eggs, and panko breadcrumbs laid out in separate bowls. Dredge each piece of seasoned chicken in flour, dip it into the eggs, and coat it thoroughly with panko.
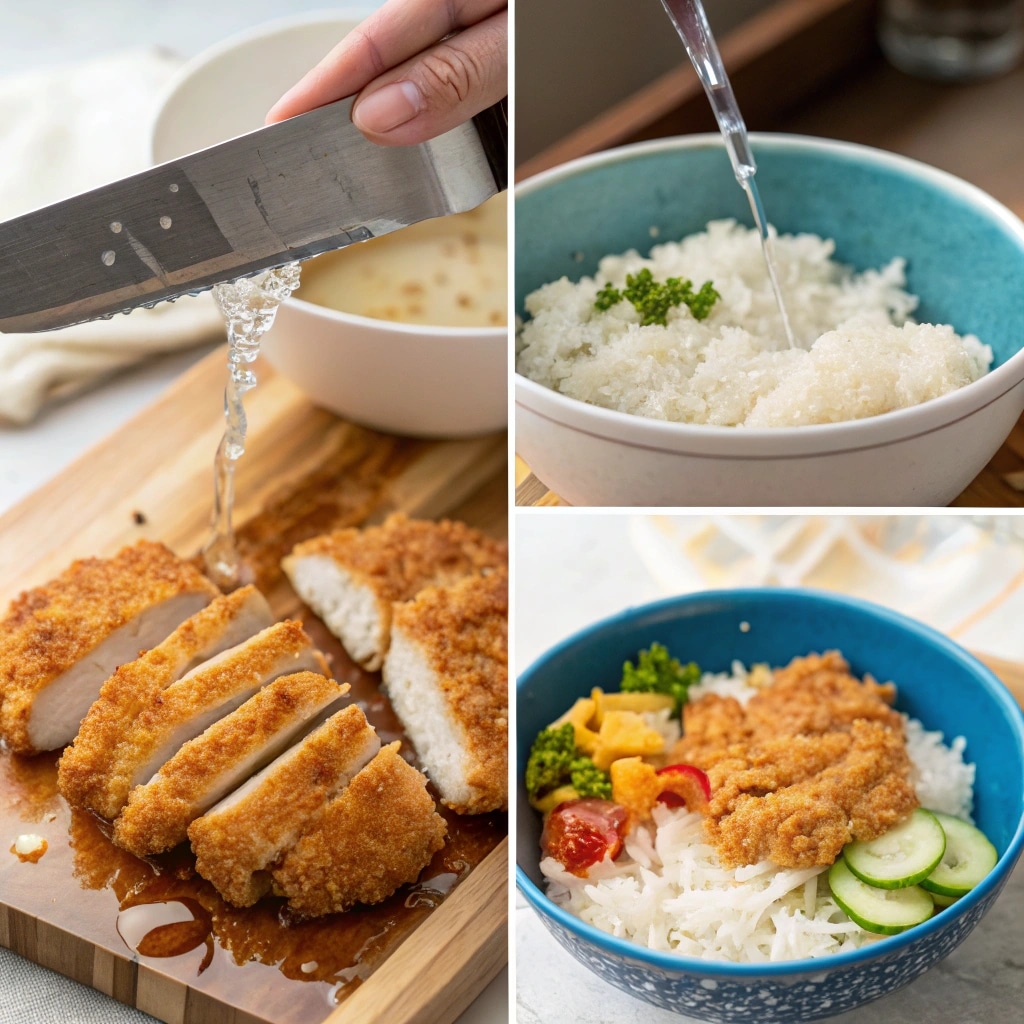
Heat vegetable oil in a skillet over medium heat, ensuring there’s enough oil to submerge the chicken. Fry each piece for 4-5 minutes on each side, or until they turn a rich golden brown and are cooked through. Drain the fried katsu on paper towels to remove excess oil and let them rest before slicing them into strips.
While the katsu cools, mix together ¼ cup tonkatsu sauce, 1 tablespoon soy sauce, 1 teaspoon Worcestershire sauce, and 1 teaspoon ketchup in a bowl to create a delicious drizzling sauce for your bowl.

Plating and Serving Your Katsu Bowls
Now that your katsu and rice are ready, it’s time to assemble your katsu bowls. Begin by plating a generous serving of the sticky Japanese rice in the center of your bowl. Next, take your freshly sliced katsu and nestle it on top of the rice, allowing the meats’ tantalizing aroma to mingle with the fragrance of the rice.
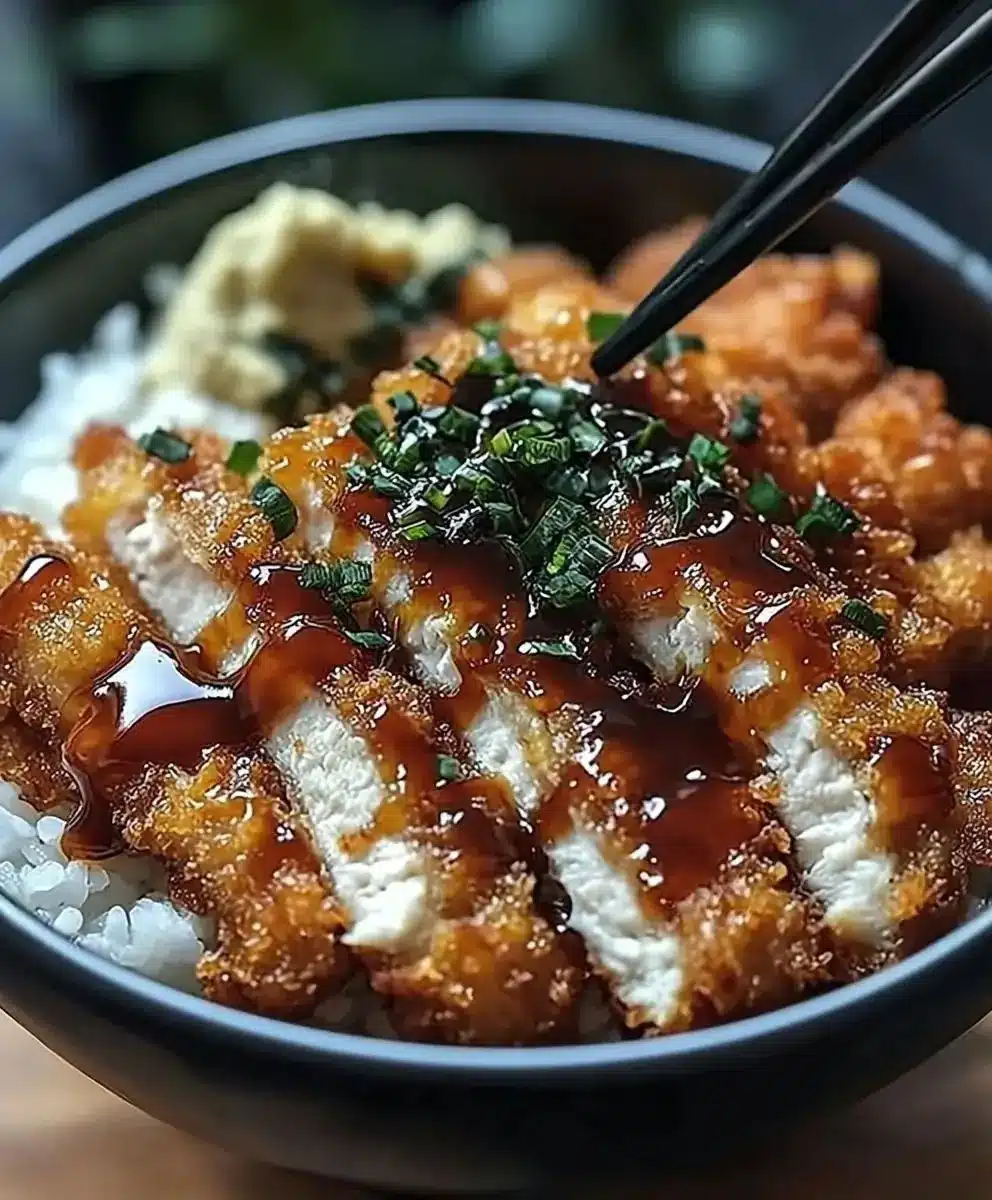
For a burst of color and crunch, pile a handful of shredded cabbage next to or on top of the katsu. Scatter sliced green onions over the dish for additional flavor and garnish with toasted sesame seeds—this step is purely for that appealing touch! Finally, drizzle your prepared sauce over the sliced katsu, letting it cascade down to the rice and vegetables beneath. If you love pickled ginger, add a small mound to the side for that extra zing.
Serving Japanese katsu bowls not only pleases the palate but also creates a visual feast. Imagine sitting down to this vibrant dish, where each bite combines the crispy texture of the katsu, the soft rice, and the crunch of fresh veggies. It’s not just a meal; it’s a delightful experience that inspires laughter, conversation, and cherished memories around the table.
FAQs
- What is the difference between katsu and tonkatsu?
Katsu refers generally to the breaded and fried meat, while tonkatsu specifically denotes the pork version of this dish. - Can I make katsu with tofu?
Yes! For a vegetarian option, substitute chicken or pork with tofu, using the same breading process. - What can I serve with katsu?
Alongside katsu, rice and salad are traditional, but feel free to get creative with miso soup or take-out-style fried rice. - How should I store leftover katsu?
Keep leftover katsu in an airtight container in the fridge for up to 2 days. Reheat in an oven or air fryer to maintain crispiness.
Conclusion
Japanese katsu bowls embody the essence of comfort food, combining crispy textures, savory flavors, and beautiful presentation. By following these steps and infusing your culinary creations with passion, you can bring the joy of katsu into your home. Each bite tells a story, one flavored with memories and the warmth of family. So gather your ingredients, roll up your sleeves, and embrace the magic of cooking! Enjoy your homemade Japanese katsu bowl and share it with those you love.

Japanese Katsu Bowl
Ingredients
For the Katsu
- 2 pieces boneless chicken breasts or pork loins Use whichever you prefer
- 1 cup all-purpose flour For the breading
- 2 large eggs (beaten) To help the panko stick
- 1 cup panko breadcrumbs For that signature crunchy coating
- 2 cups vegetable oil For frying
- ¼ cup tonkatsu sauce Can be store-bought if in a pinch
- 1 tablespoon soy sauce
- 1 teaspoon Worcestershire sauce
- 1 teaspoon ketchup
For the Rice
- 2 cups Japanese short-grain rice Provides the perfect sticky base
- 2.5 cups water To cook the rice
- 1 tablespoon rice vinegar
- 1 tablespoon sugar
- ½ teaspoon salt For seasoning the rice
For Garnishing
- 1 cup shredded cabbage For freshness
- 2 tablespoons sliced green onions
- 2 tablespoons toasted sesame seeds For garnish
- to taste pickled ginger Optional
Seasoning
- salt and pepper salt and pepper Essential for seasoning meat
Instructions
Prepare the Rice
- Rinse the rice under cold water until the water runs clear.
- Transfer the rinsed rice to a saucepan, add 2.5 cups of water, and soak for about 30 minutes.
- Cover and bring to a boil, then reduce the heat and let it simmer for 15 minutes without lifting the lid.
- After 15 minutes, turn off the heat and let the rice sit covered for another 10 minutes.
- Mix together rice vinegar, sugar, and salt in a separate bowl and gently fold into the cooked rice.
Prepare the Katsu
- Pound the chicken breasts to a uniform thickness of about ½ inch and season with salt and pepper.
- Set up a breading station with flour, beaten eggs, and panko breadcrumbs.
- Dredge each piece of chicken in flour, dip into the eggs, and coat with panko breadcrumbs.
Fry the Katsu
- Heat vegetable oil in a skillet over medium heat, ensuring enough oil to submerge the chicken.
- Fry each piece for 4-5 minutes on each side, or until golden brown and cooked through.
- Drain fried katsu on paper towels and let them rest before slicing into strips.
Prepare the Sauce
- Mix ¼ cup tonkatsu sauce, soy sauce, Worcestershire sauce, and ketchup in a bowl to create a drizzling sauce.
Assemble the Bowl
- Plate a generous serving of sticky Japanese rice in the center of your bowl.
- Nestle the freshly sliced katsu on top of the rice.
- Add shredded cabbage next to or on top of the katsu and sprinkle with sliced green onions.
- Drizzle prepared sauce over the katsu, garnish with sesame seeds, and add pickled ginger if desired.

